- Business
- EXPERT PDF BUSINESS TAKE BACK CONTROL OF YOUR PROFESSIONAL FILES
- Business Functionality
- Request Quote
- Compare Pro Versions
- Features
- Windows Range


Open and view any PDF file or 3D digital book in .epub, .cbr or .cbz format from your Expert PDF software.
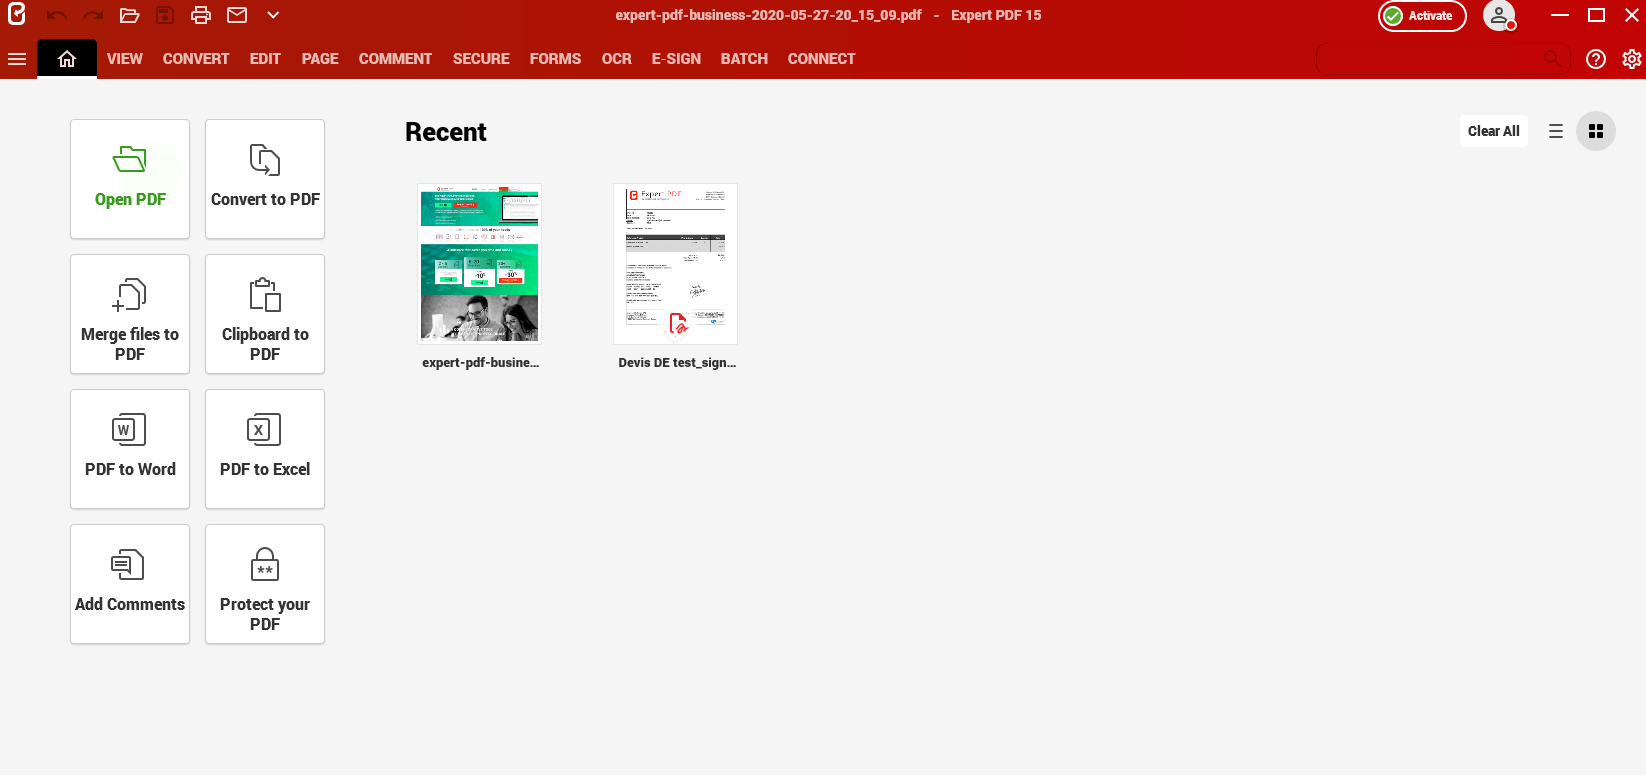
Convert your PDFs to an accurate file without losing information: the items and layout are completely recovered and become fully editable.
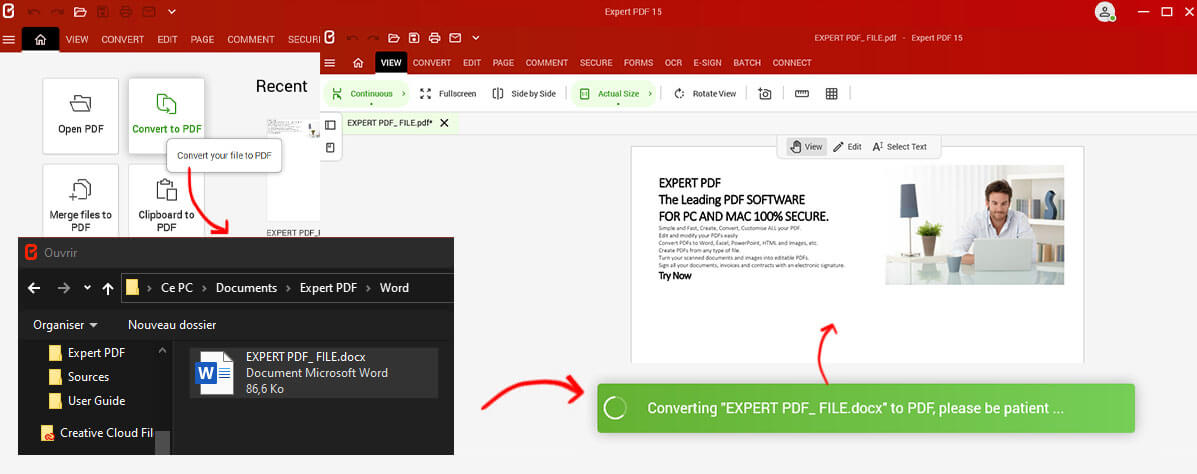
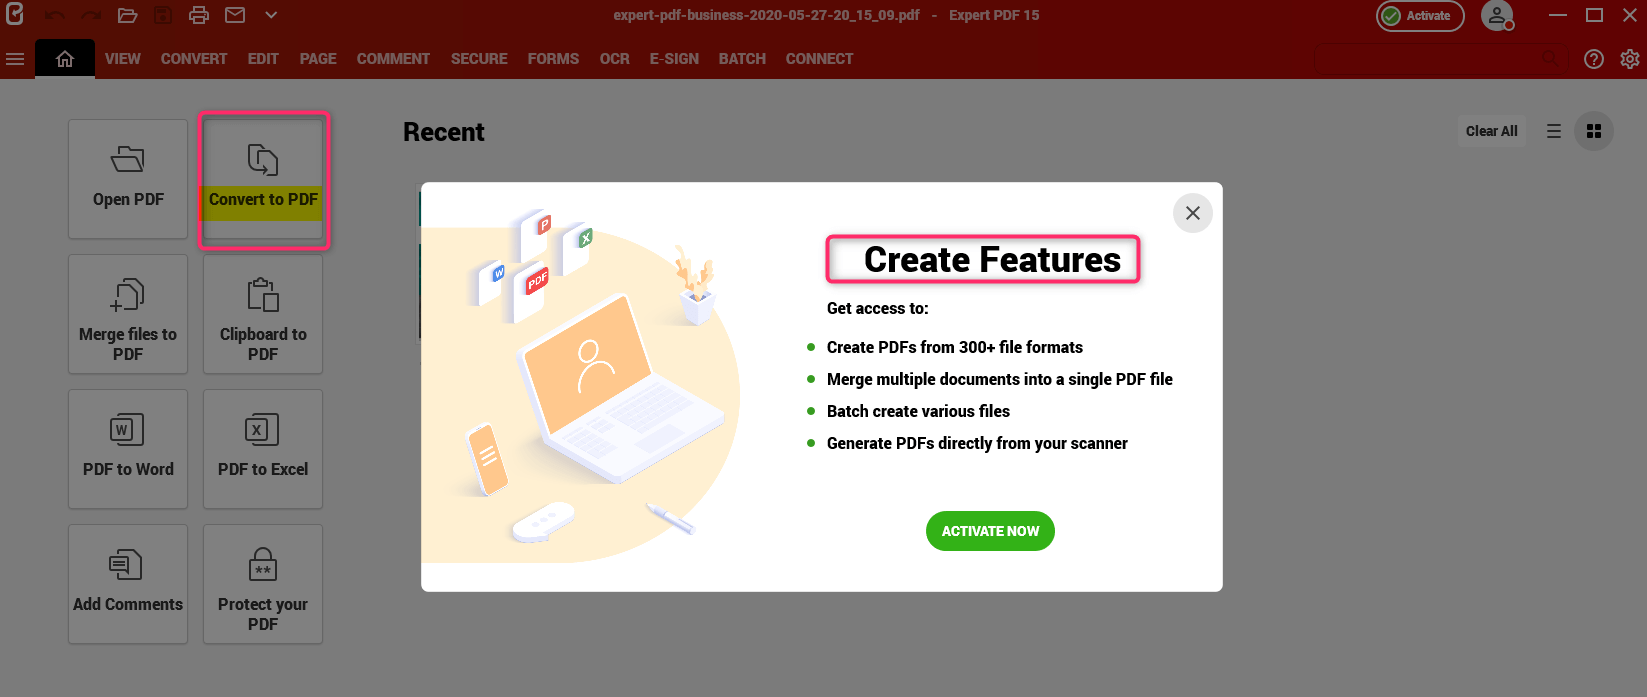
Easily create universal PDF files from over 200 different file formats (e.g. Word, Excel, PowerPoint, images, HTML, text).
Edit a PDF file by inserting different types of elements that can even be customised using the many tools available in the software (curves, geometric shapes, stamps, etc.).
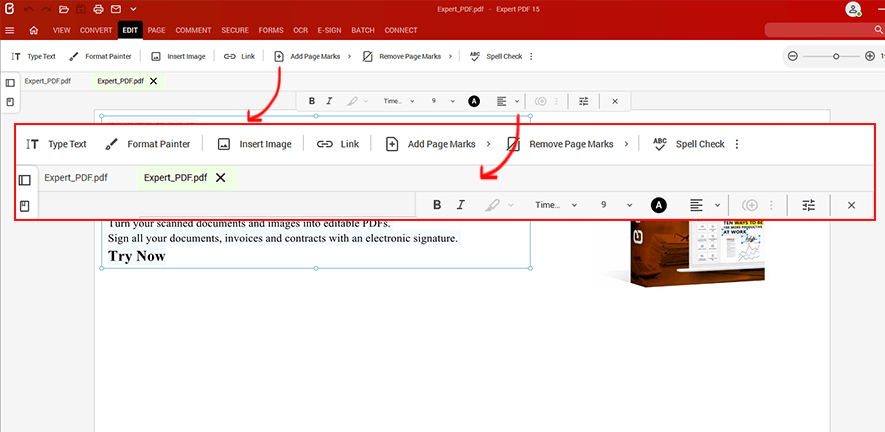
Insert and customise the pages of your PDF documents with the drawing tool, adding geometric shapes, curves and illustrations.
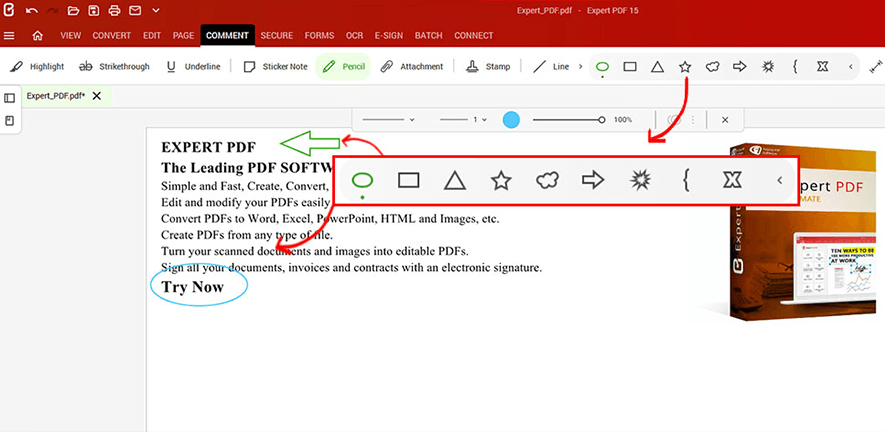
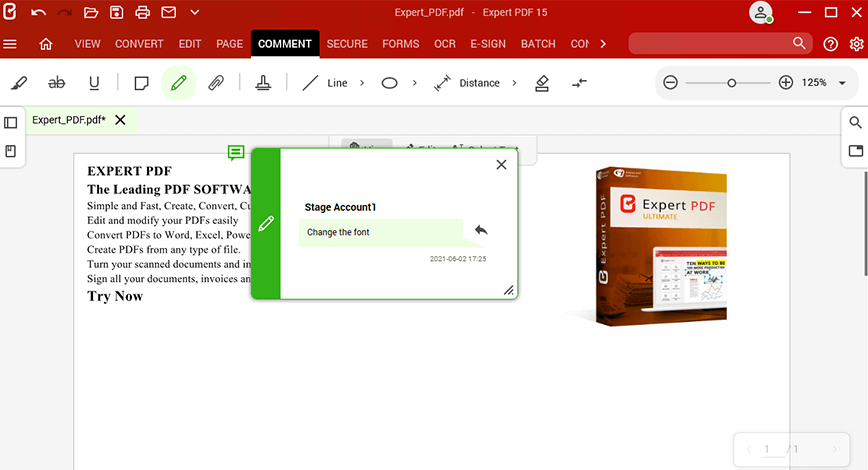
Quickly mark up and add comments to the pages of your PDF documents using the different tools available in the Expert PDF software (highlight and underline text, annotate with the pencil tool, customised stamps, etc.).
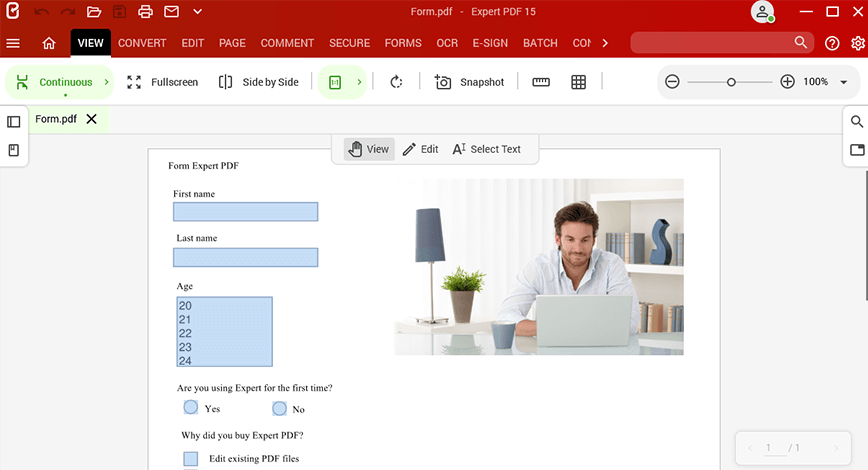
Create editable forms from unsecured Word, Excel and email documents. Use the different input fields to customise your questionnaires (radio buttons, text fields, check boxes, combination boxes, drop-down lists and more).
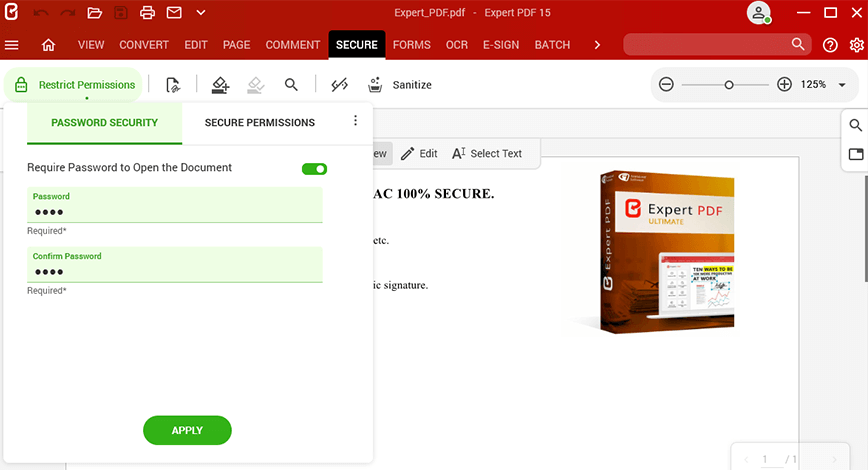
Secure and protect your confidential documents using passwords and access rights.
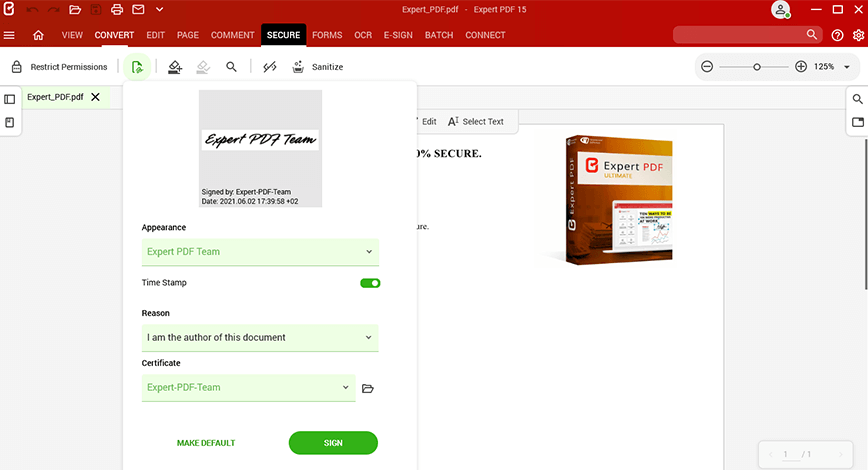
Sign your invoices, contracts and other business documents electronically from any remote PC. Thanks to Expert PDF, the eSignature is legally admissible
Turn scanned documents and images into editable PDFs with award-winning IRIS OCR technology. Recognise the text automatically, including in images.
Save time when working remotely by having your customers complete the signing of your contracts and invoices!
With our Unlimited pack, getting your business documents signed electronically is child’s play!
Ask your email recipients to sign your documents digitally without needing the Expert PDF Business software.
Track the status of your e-signature requests in real time.
Our OCR module makes your life easier! No more retyping text: use our OCR feature to scan all your paper documents (invoices, contracts, books, etc.)
Optical Character Recognition allows you to automatically create a PDF of your scanned document on your PC!
Our OCR ADVANCED module also allows you to archive sensitive documents in bulk.


Try our EXPERT PDF software today,
the most powerful on the market!
I installed it on both my PCs and it's awesome. All good!
A very simple tool to use. I would recommend it.
I haven't had time to fully assess your product yet, but it's been perfect up to now.
512 MB of RAM (1024 MB Recommended)
Intel Pentium® IV 1.6 GHz Processor
900MB of free disk space
Windows 7, Windows 7 64-bit, Windows 7 32-bit,
Windows 8, Windows 10, Windows 11.

Copyright © 2024 Avanquest Software
Avanquest Software, 2 Rue Berthelot, 92400 Courbevoie – France International Websites: United States | United Kingdom | France | Deutschland | Italia | España